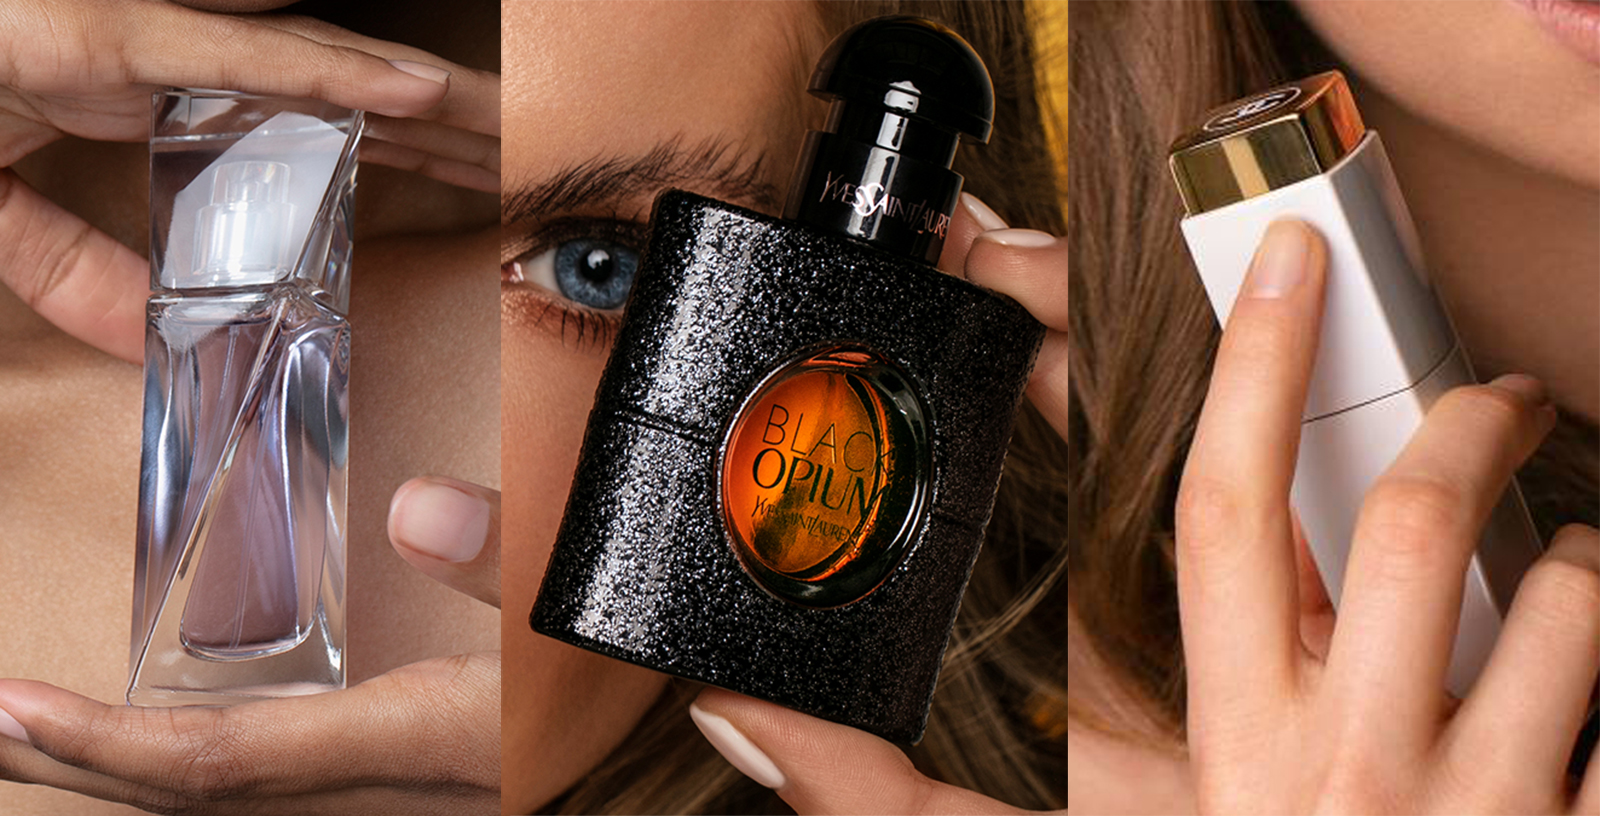
How do I take photos for an online shop? Taking pictures that sell.
Your online shop, or rather the products you sell, are visible in the Google or Bing search results, your marketing efforts get a lot of traffic, but you still think sales could be higher? Are you wondering, if there is anything else you can do to increase the number of purchase offers? The basic truth about e-commerce is that any product can only be sold if it is properly presented. Therefore, well-made product photos can have a significant impact on sales.
Product images – an important element of online shop and sales
Visual messages can significantly increase the attractiveness of an e-shop. Appropriate description of products will certainly distinguish the platform from the competition, and also reduce the number of complaints and the cost of after-sales service. However, basic knowledge of how a camera works is not enough – you need to have good quality and attractive images in mind. The popularity of miniature photos without visible details is already gone.
Product photography and consumer needs
Consumers are increasingly switching from traditional shopping to e-commerce, because they have the opportunity to take a closer look at a given item without leaving home. This is possible thanks to, among others, good quality photographs, the function of significant enlargement or even short GIF animations showing how a given product fits on the figure while moving, which are becoming more and more popular (especially in the fashion industry).
Product photos for an online shop should be as realistic as possible, so that customers feel they can almost touch the offered item.
How do I take photos for an online shop?
Above all, you need to ensure that your product is properly prepared. This will save time on further stages of work, especially during graphic processing. After taking a photo, it is worth checking how the item looks on a close-up. There should be no dust, scratches or creases on the object. Every detail counts in product photography, and sloppy shots may discourage people from buying.
Product presentation
Before the session, it is a good idea to check what the photo guidelines are for images uploaded to the auction site. A neutral-coloured background is recommended, particularly white. Alternatively, you can opt for grey or black. It is important to use one consistent background colour for all images. In the case of lifestyle images for a brand’s social media channels, you can opt for a more creative solution.
Appropriate lighting of the photo
The light should not be too harsh and cause shadows. By using the diffuse light technique, you can achieve a softer and more artistic photo. When dealing with a shiny object, pay attention to what and how the object reflects.
It is important to use natural light, such as light coming through a window, when photographing an object. If weather conditions make this impossible, use a compact LED lamp. You can also use a diffuser or a large white sheet to reflect light from the window directly onto your subject. For product photography, a shadow-free tent is also recommended, which is great for small objects. It is used to illuminate the subject evenly and further reduce reflections on the photographed object.
Camera preparation and set-up
Make sure the lens is clean, avoiding a low photographic aperture (this will increase the depth of field, which will make the subject appear clearer). It is also advisable to set the ISO as low as possible to ensure the highest image quality and sharpness in this case. It is also important to set the white balance correctly in order to more accurately show the characteristics and colour of the product in the photo.
The most important parameters you need to set before you start shooting
- ISO value – the sensitivity of the sensor to light, it should be low – otherwise you will see the so-called grain in your photos;
- Exposure time – may be higher if the product is against a white background;
- Aperture value – if you want to get the effect of a clear product on a blurred background, the best aperture setting may be a relatively low one, e.g. f/1.8;
- format – be sure to save your files in lossless RAW format as this gives you the most editing options; when uploading product images to your website, use JPEG2000 or WebP formats
- Built-in image stabilisation – if you use a tripod, it should be turned off, otherwise it can remain on.
The final stage of photos for an online shop: processing
The post-processing stage is a necessary and final step in the product photography process that cannot be omitted. Always process your images before uploading them to your website or auction portal.
The most popular tools used for photo editing:
- paid: Photoshop
- free: GIMP, Photopea (Photoshop browser version), Pinetools, Snapseed (mobile app)
Pay attention to the colour of the product and its shadows during final processing. If the colour does not reflect reality sufficiently, it is necessary to correct the colours, for example by improving the lighting.
As well as increasing conversions and product awareness, professional product photography builds brand awareness and trust among shoppers. They will help users increase their engagement on the site and spend more time on it. Do you want to modify your online shop? Write to me.


Sorry, the comment form is closed at this time.